VPS
··2 minute readAdjusting CloudLinux LVE limits on a VPS
If you have a Fully Managed VPS or a Self Managed VPS with the CloudLinux addon, you can manage the CPU, Memory and I/O resources per package or per user to better control resource usage on your server so that no single user can overload the server.
Adjusting LVE Limits using CloudLinux Manager
You can adjust the LVE limits for each user on your server using the CloudLinux Manager in WHM. This can be done by logging into WHM and navigating to Plugins > CloudLinux Manager. From here, you can set limits for each user or package on your server:Per User
If you would like to adjust the limits for a specific user, follow these steps:- Click on the Users tab at the top.
- Click on the pencil icon on the right-hand side next to the user you would like to adjust.
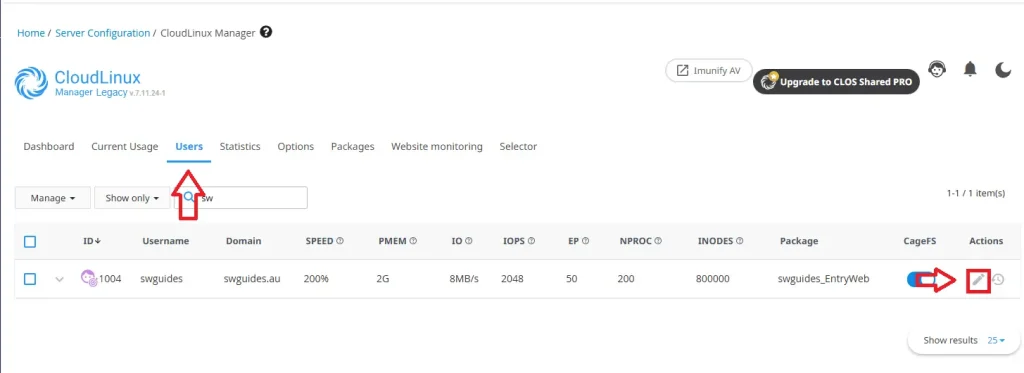
- Adjust the limits as required and click Save.

Per Package
If you would like to adjust the limits for a specific package to apply the limits for all cPanel accounts that use it, follow these steps:- Click on the Packages tab at the top.
- Click on the pencil icon on the right hand side next to the package you would like to adjust.
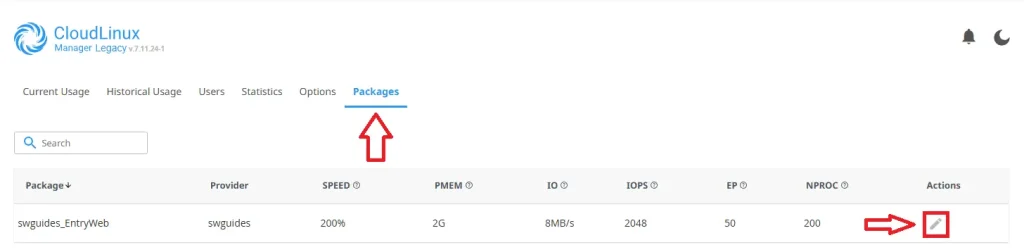
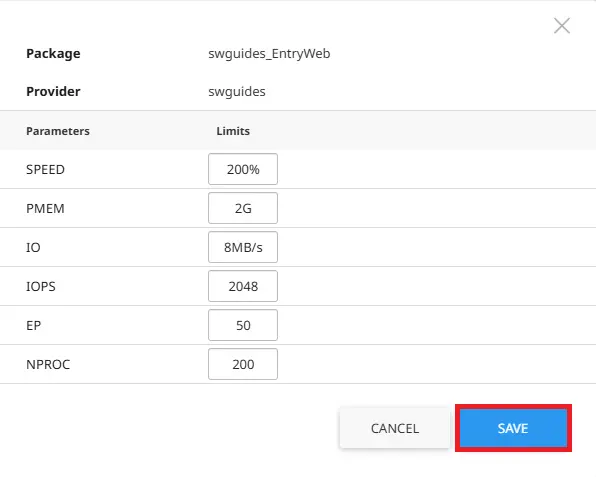
- Adjust the limits as required and click Save.
What resources can I adjust?
The resources that you can adjust are as follows:- SPEED: Sets the CPU Limit for a user. 100% is equal to 1 vCore of a CPU.
- PMEM: Sets the maximum amount of RAM a user can use; this includes shared memory and disk cache.
- IO: Sets the read/write speed limit for a user to the server's disk. This is measured in Megabytes per second (MB/s).
- IOPS: Limits the number of read/write operations per second to prevent excessive disk load.
- EP: Limits the amount of concurrent entry processes; this affects cron jobs, web connections and SSH.
- NPROC: Defines the maximum number of processes a user can run within their Virtual Environment.
- INODES: Sets the overall limit on how many files and folders a user can create.