Microsoft 365
··3 minute readAdding a Domain Name to Microsoft 365
This guide will go over adding a domain name to a Microsoft 365 service and setting it up for Exchange!
 Once the TXT record has been added, go back to the Microsoft "Add a record to verify ownership" page and click on 'Verify' at the bottom
Step one: Adding & verifying your domain
We will add your domain name and configure the DNS records required by Microsoft 365 services so you can send and receive emails under that domain name!- Log into the Microsoft admin center if you are not already signed in.
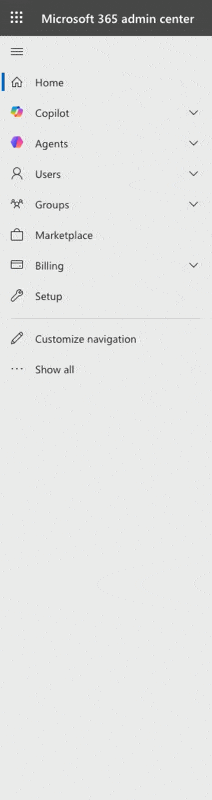
- On the left navigation pane, click on 'Show all' → 'Settings' → 'Domains'.
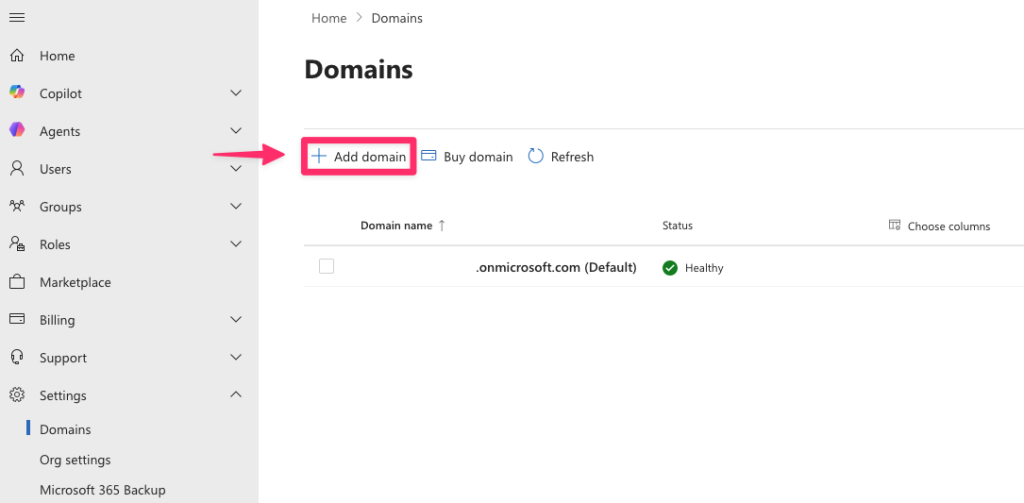
- Click on the 'Add domain' button at the top.
- Next, enter the domain name that you would like to use and click on 'Use this domain'. We're going to be using vipguides.com.au in this example but make sure to enter your own domain instead.

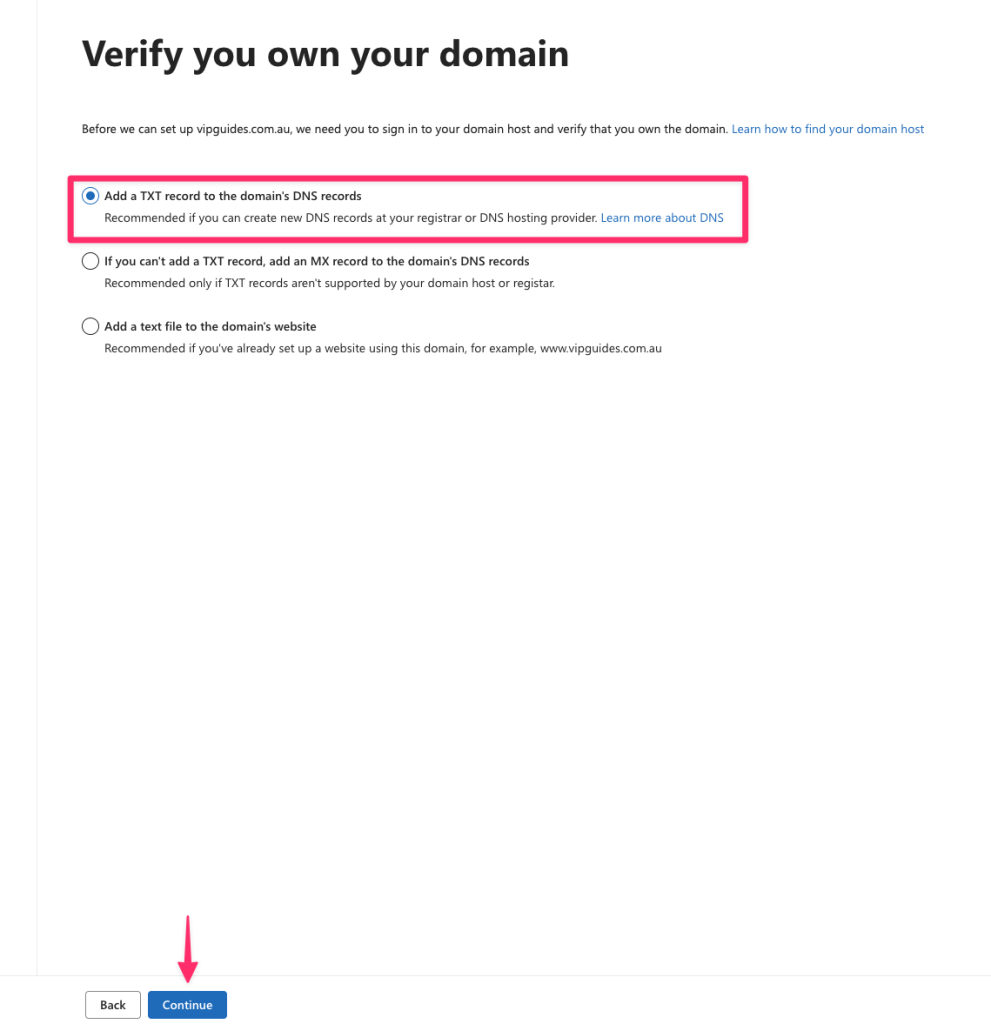
- Next you will have to verify that you own the domain, we will be adding a TXT DNS record to do this. Select the "Add a TXT record to the domain's DNS records" option and click on 'Continue'.
- Next you will see the TXT record that you need to add to your domains DNS.
Domain or Hosting is with Synergy Wholesale
If your domain DNS is managed by us, you can add the TXT record in using these guides below:Domain or Hosting is with another provider
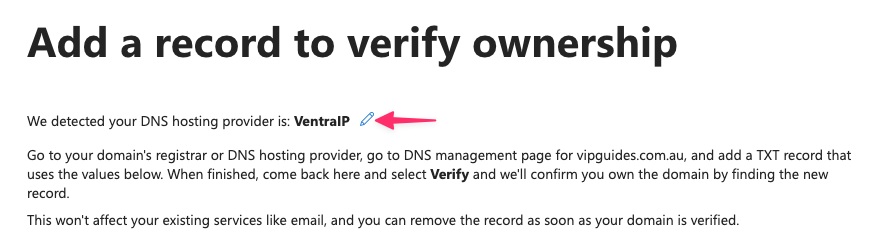
If your domain name's DNS hosting is not with Synergy Wholesale, (e.g. using Cloudflare) you will have to add the TXT record in with who manages your domains DNS. If you are unsure how to do this, we would recommend contacting your DNS provider for assistance adding this in. If you don't know who your provider is, usually Microsoft will autodetect and tell you who your provider is here:
Once the TXT record has been added, go back to the Microsoft "Add a record to verify ownership" page and click on 'Verify' at the bottom
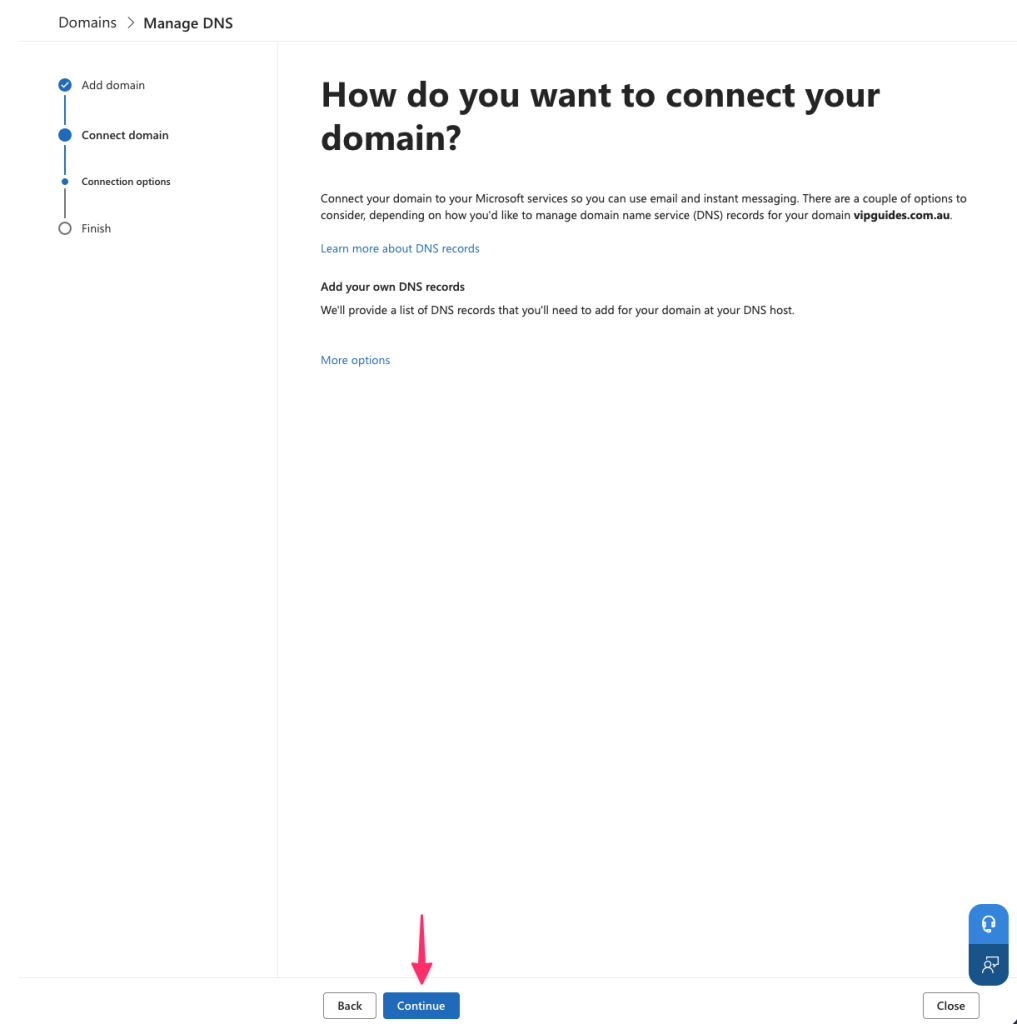
Step two: Connecting Exchange to your domain
- Next in the Microsoft setup, click on 'Continue'
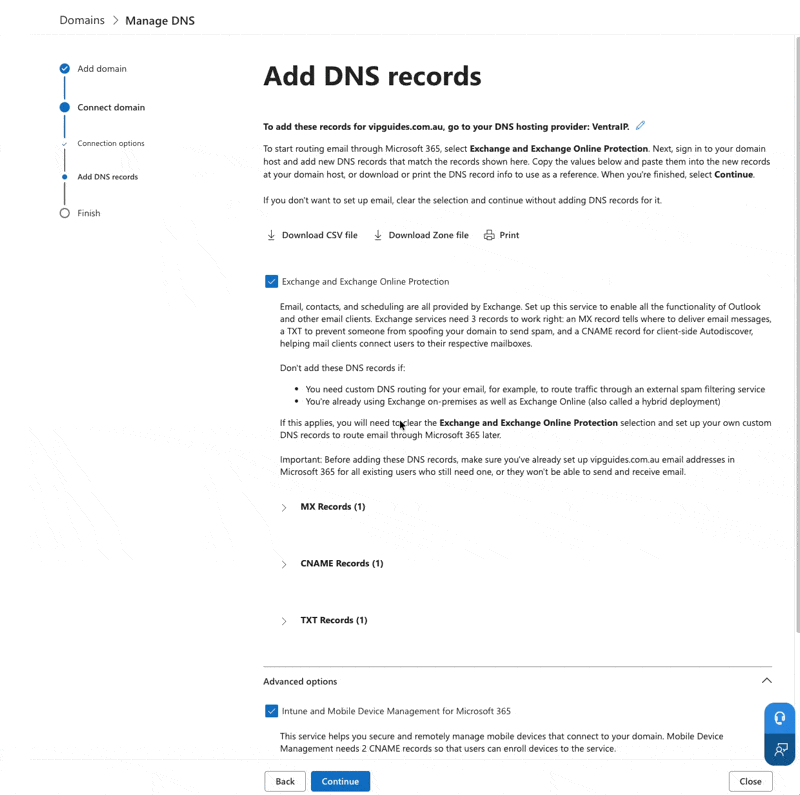
- Next, it will prompt you to add DNS records. Click on the 'Exchange and Exchange Online Protection' checkbox and any others you would like to setup. We also recommend selecting the "DomainKeys Identified Mail (DKIM)" checkbox as well. For more information, please refer to this guide here.
- If your domain is using DNS Hosting, you can use the "App Preset" option to quickly add the Microsoft 365 DNS records in. Otherwise copy the records and add the DNS records in with your DNS provider, similar to adding the TXT record earlier.
- After the DNS records have been added, go back to the Microsoft setup page and click on 'Continue' and the setup should be complete!
Note: DNS updates can take up anywhere between 2-6 hours to propagate so it may not verify straight away
What's next?
Next will be adding additional users and assigning licenses to them. This is part two of our getting started series. To skip ahead you can refer to any of the guides below:- Part one: Logging into Microsoft 365 for the first time
- Part two: Adding a Domain Name to Microsoft 365
- Part three: Adding users and assigning licenses in Microsoft 365