Microsoft 365
··3 minute readCreating Shared Mailboxes in Microsoft 365
With Microsoft 365, you have the ability to create a shared mailbox for multiple users to be able to access, send and receive emails from. Here's how to create one:
- Login to the Exchange Admin center as a user with the Exchange admin or Global administrator role.
- Click on 'Recipients' → 'Mailboxes'
- From there click on 'Add a shared mailbox'
- Next, fill out the information for the mailbox:
- Display name: Enter a name for the Mailbox, this is also what recipients see when they receive an email from it.
- Email address: Enter the username for the mailbox. For example, if you wanted the email account "
info@vipguides.com.au" enter "info" in the first text box and select the domain name from the dropdown menu. - Alias: This will be created automatically, feel free to leave it blank.
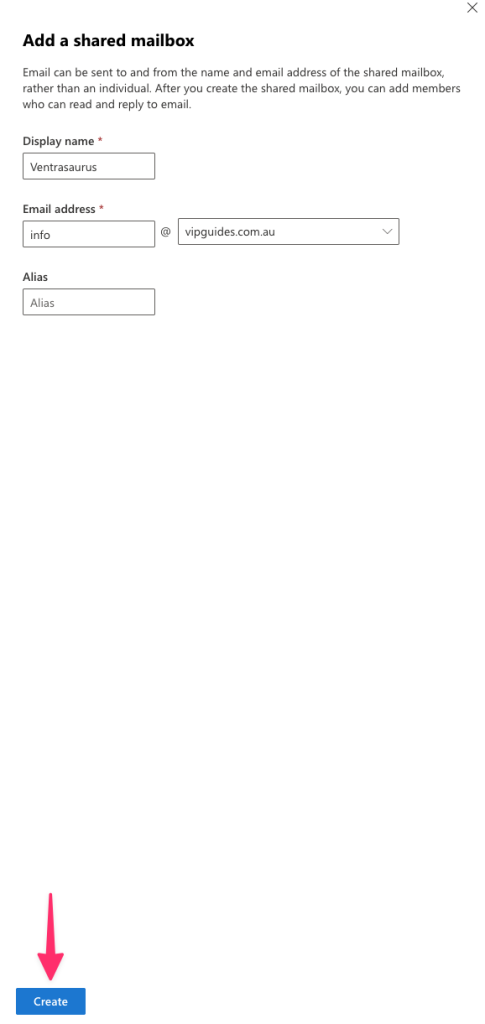
- Once the mailbox information is filled out, click 'Create'. It may take a few minutes before you can add members.
- Under Next steps, click on 'Add users to this mailbox'.
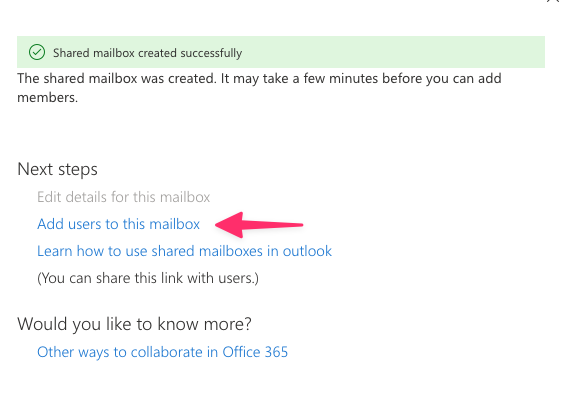
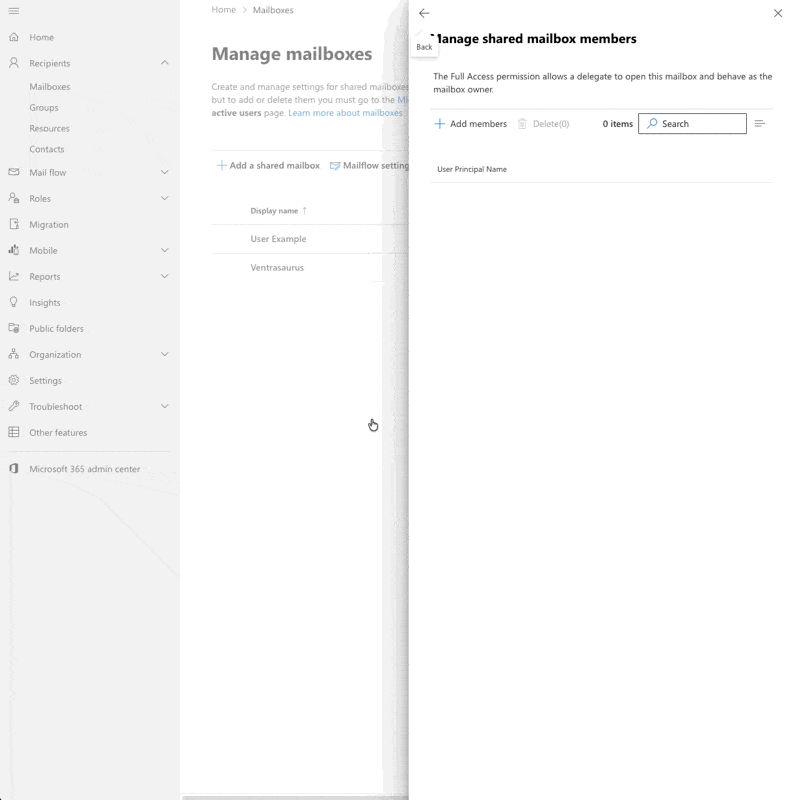
- Click the 'Add members' button. Select the people who you want to use this shared mailbox, click 'Save' and then 'Confirm'.
Editing shared mailbox permissions
To edit shared mailbox permissions and delegations, in the Exchange Admin center navigate to:- Recipients → Mailboxes and then select the shared mailbox.
- Click 'Edit' → then 'Delegation' Tab
- From there, click on edit under the permission you would like to either grant or remove, you can then add and remove members from said permission as you like.
- After you have made your changes, click 'Confirm'
What permissions should I use?
You can use the following permissions on the shared mailbox:- Full Access: The Full Access permission lets a user open the shared mailbox and act as the owner of that mailbox. After accessing the shared mailbox, a user can create calendar items, read, view, delete, and change email messages, and create tasks and calendar contacts. However, a user with Full Access permission can't send email from the shared mailbox unless they also have Send As permission.
- Send As: The Send As permission lets a user send emails from the shared mailbox. For example, if John logs into the shared mailbox for the HR department, it will look like the HR department sent the email.